Ever been in a room that had a musty smell, and it didn't feel comfortable? Could this be mold? You are not alone in your suspicion. Mold can quietly infiltrate your house and requires attention, as it can damage both your health and belongings. That's why mold testing is so important.
However, here's the catch: many people unknowingly make mistakes when attempting to detect mold, particularly when using a DIY mold testing kit. They may produce incorrect findings, incur costs, and cause health problems that can be avoided.
In this blog, we'll walk you through the most common errors homeowners make with mold testing and, more importantly, how you can avoid them.
Why Mold Testing Matters More Than You Think
Not only does mold look bad, but it can also be hazardous. According to the CDC, mold exposure can cause symptoms such as coughing, wheezing, skin irritation, and even asthma attacks in individuals who are sensitive or have weakened immune systems.
Mold testing helps detect mold growth early, allowing you to take action before it spreads. It's also very important to get the process correct. A defective test can make you miss a big issue or cause you to fix something that doesn't need fixing.
We will now look at the typical errors and how to avoid them.
Mistake #1: Testing the Wrong Area
Imagine you notice mold on your bathroom wall and decide to check it. That sounds just the right thing to do, right?
Not always.
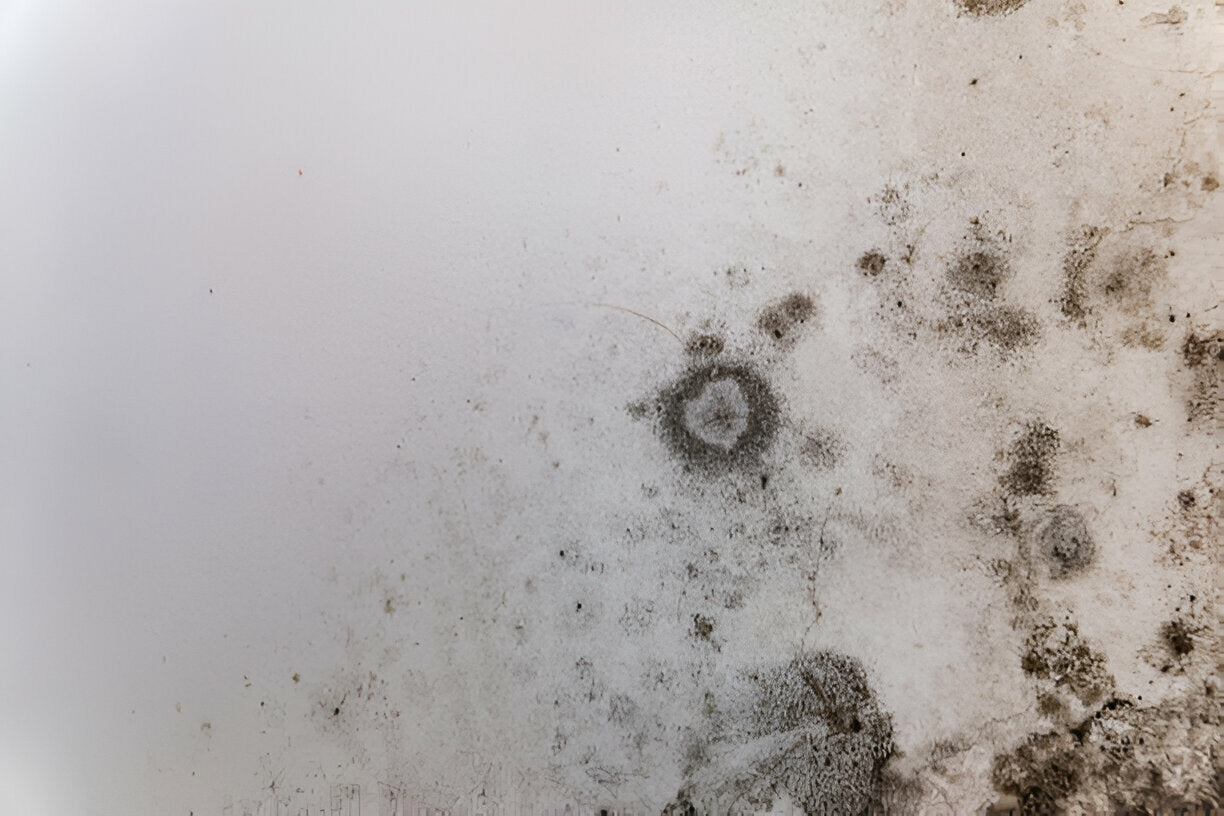
The visible mold does not require testing. Once you have learned to recognize it, you've already realized it's there. If you suspect mold but can't find it, such as behind walls, under carpets, or in the attic, testing is particularly helpful in these areas.
How to avoid it: Focus your mold testing in areas that are prone to moisture but don't show visible mold. Musty-smelling rooms and places where leaks have caused issues should be your starting points.
Mistake #2: Poor Timing
Many people test for mold at times when the results are not accurate, such as immediately after cleaning or during severe weather.
Mold is more likely to grow in humid conditions. It may be easy to miss when testing under dry conditions. Testing soon after using strong cleaning agents may also skew the results.
How to avoid it: Perform mold testing when the weather is stable, and no cleaning has been done recently. High humidity typically occurs in late summer or fall, making it an ideal time to do it.
Mistake #3: Misusing DIY Mold Testing Kits
A DIY mold testing kit sounds like a great way to save money. Yet, if you do not use it correctly, it may yield incorrect results.
A common mistake? Letting the petri dish stay unprotected for more than what is required. Placing it in high-traffic areas means spores can be easily kicked up and inhaled by you.
How to avoid it: Follow the instructions on the kit exactly. Keep your hands clean, avoid letting air fans or open windows influence it, and place the kit in a quiet, undisturbed spot.
Additionally, some kits are superior to others. Select a brand that conducts laboratory testing and does not solely rely on visual inspection.
Mistake #4: Misinterpreting the Results
After finishing the test, you see an unclear petri dish and wonder, "Is that bad?"
Since lab analysis or expert advice isn't available, it is challenging to determine whether mold poses a serious risk or is simply a normal presence in homes.
How to avoid it: Opt for a mold testing service that includes lab results and a clear explanation of the results. They should inform you of the type, concentration, and potential challenges associated with the mold.
Mistake #5: Ignoring Hidden Mold
Mold can be hard to notice. It doesn't always happen as you think it will. Under sinks, behind walls, and near HVAC systems are common areas that are sometimes overlooked.
According to a study by the EPA, indoor air can be 2 to 5 times more polluted than outdoor air, and mold plays a big role in it. If you only look at obvious areas, you won't get the complete picture.
How to avoid it: Consider areas in the house that are typically moist, dark, and often overlooked. That is where mold is likely to grow, and that is where you should perform the test.
Mistake #6: Not Retesting After Remediation
What if you noticed mold, removed it, and then moved on? It looks like you're feeling better now, aren't you?
Not necessarily. Skipping the final test to make sure the mold is gone is common among people.
How to avoid it: Always follow up after cleanup with another round of mold testing. It allows you to relax and make sure the problem is gone.
Key Takeaways
In summary, remember the following key points to combat mold in your home successfully.
-
Visible mold should not be tested; simply clean it.
-
Ensure your tests are conducted at the proper times.
-
Use DIY mold testing kits properly and choose reputable ones.
-
Failing to use lab analysis means you might guess at the results.
-
Search for mold in different places, not just in the spots you are aware of.
-
Test again after you have fixed the problem to make sure it is eliminated.
Final Thoughts
Mold testing is one of those things that seems simple until it's not. When handled properly, it can be very helpful for your home and health.
Sticking to advice and best practices can help you avoid problems that may trigger stress, incur expenses, and risk your health later on. It is like visiting a doctor. You wouldn't omit any parts of the process or guess directly at the test results. Mold testing deserves the same attention.
Ready to do a proper test on your home?
MyCoTest makes mold testing simple, accurate, and stress-free. We provide clear instructions, laboratory results, and expert support to help you understand what's actually happening at your home.
Treat mold before it becomes difficult to handle. MyCoTest brings control and ensures your home is in good condition.


